 0
0
 0
0
I visited family over the holidays and completed a couple of the camera projects for my Mom. I missed recording some steps but at this stage I had completed the glue up of seven panels and was looking to even out the top and bottom edges. The saw and glue job I did was not the greatest, and there was a lot that needed to be sanded down. After trying to sand down one edge I realized I needed more than just sand paper, I had to up my game with some wood rasps. These rasps were quicker but I needed to be careful with them, or the finish would be damaged.
An extension of the project and a gift of a miter saw from my brother greatly simplified the panels I was building for my Mom. My mom wanted one more panel for herself to display her father’s camera (a Kodak 828). I only had one spare so it was time to buy more planks and glue them up. The new miter saw meant the cuts this time were way more identical and needed no rasping, just sanding.
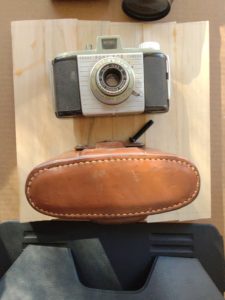
After getting the panels all squared up, it was time to stain and drill. I switched to a water based stain and poly because the danish oil wasn’t available in a red enough stain. The red I was looking for wasn’t available but the Barn Red turned out very well.


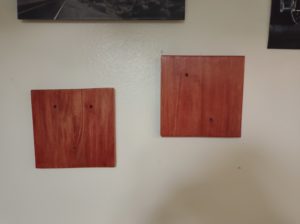
After drilling the holes it was time to see how they would look mounted to the wall.
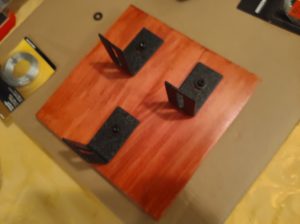
Before I could add the brackets to the panel I had to add a few finishing layers. This was an experiment with spray on varnish for me as I can’t use that in my apartment. It was alright but didn’t get as glossy as I wanted. Fun fact, the absolutely perfect brackets I found are for a bed frame.
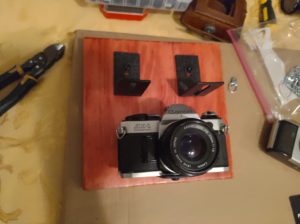
After completing that for both cameras, all that was left was mounting them to the wall all complete.


I wish I knew how to take the final picture of all three cameras and post it here.